23/09/2011

Paige.....

My hubby called me on Monday and said "Speak to Debbie" (she's one of his secretaries)" she needs a birthday card...." So I speak to Debbie and she wants an 18th Birthday card for her daughter for FRIDAY!!! (today). Bearing in mind that the card had to go to Slough in Berkshire that was a pretty big ask!
Anyhow, she gave me all the deets and this is what I came up with. It was in the post Tuesday morning!
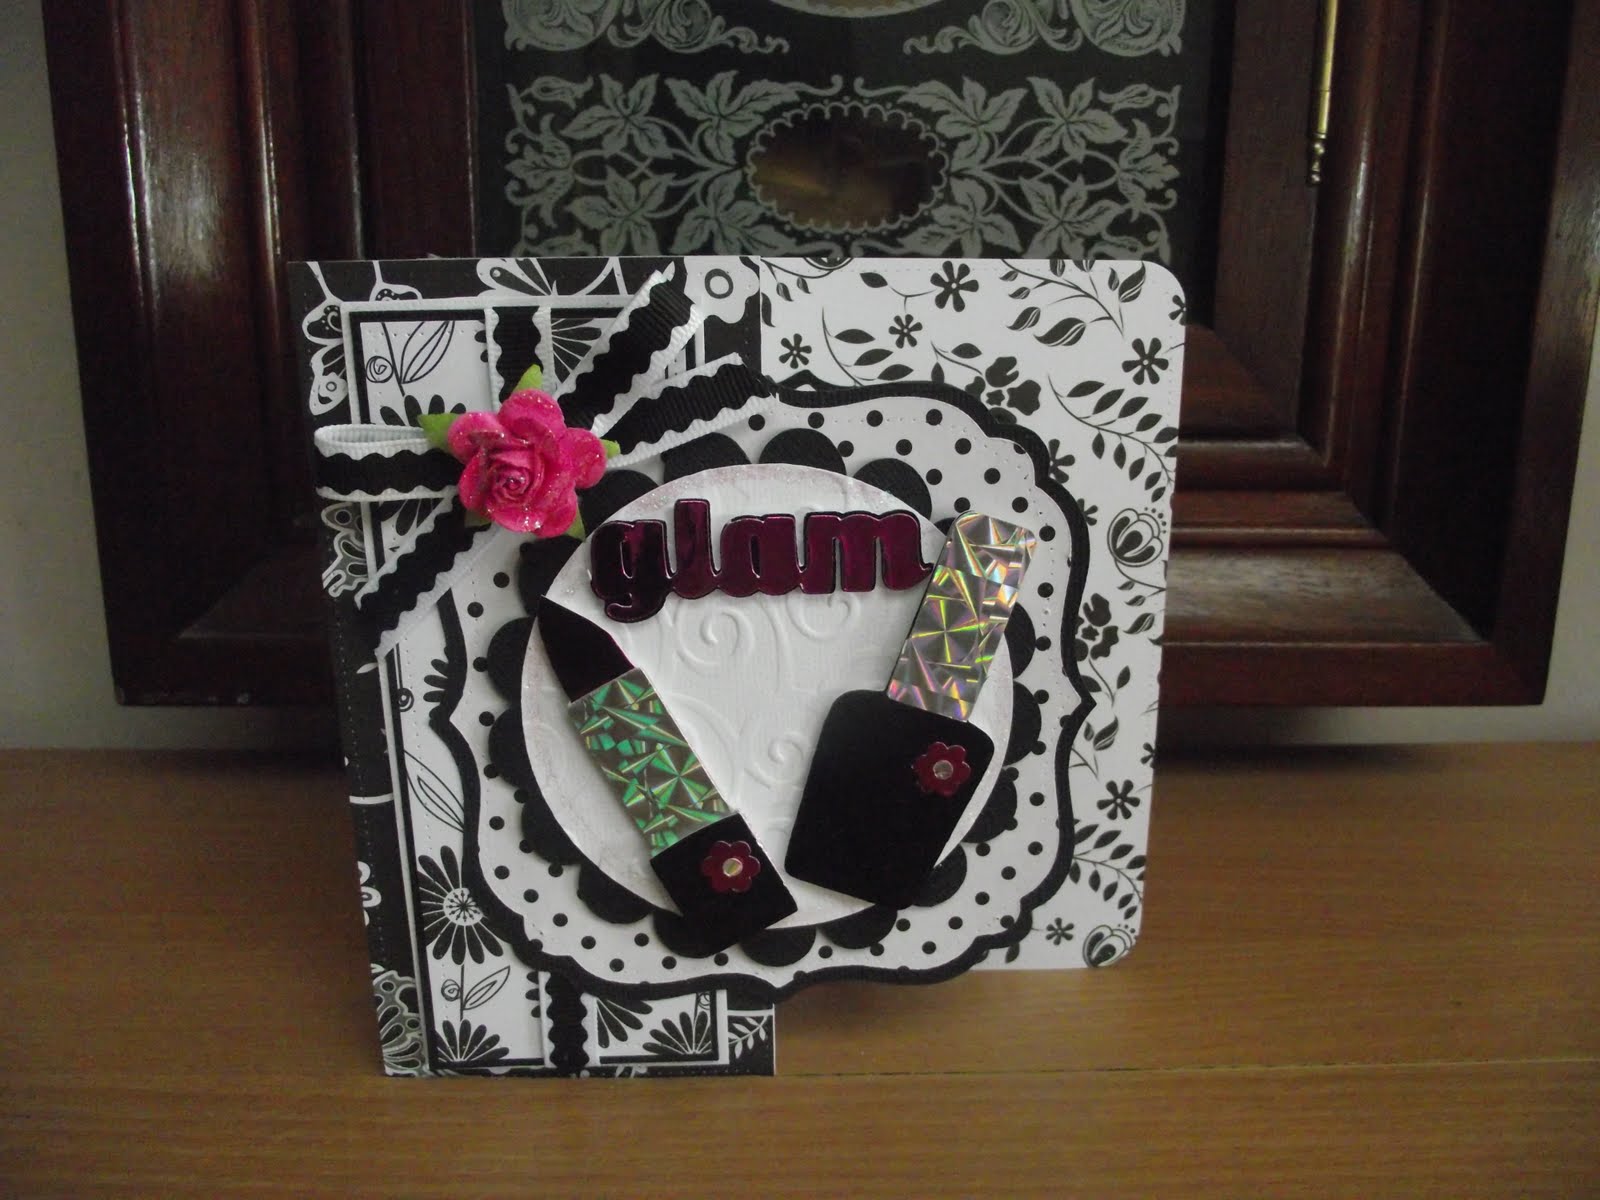
I used My Mind's Eye ' 'Penny Lane' papers on an A4 card base. Paige is a fashion design student so I thought that the dress form was rather appropriate. I added some dark teal satin ribbon, a deep pink Prima bloom and some pearls coloured with permanent pens to match the pink mats.
Carts used:
Dress form & dress- Formal Occasions
Happy Birthday- Wild Card
18th & 'Paige'- Lyrical Letters
I've yet to hear whether Debbie & Paige liked the card. I'll let you know!
Have a great weekend!
Heather xxx

19/09/2011

Beautiful......

Here's another of the heads from the Art Nouveau cart. I altered this one a bit, as there was a HUGE flower joining the head to the outer ring. I didn't like it so I carefully cut the flower from each of the cut pieces and replaced it with a romanesque pearl headdress and a WOC bloom. Now I like it!  I added some teeny punched leaves and flowers to the circle frame as a finishing touch. The punched border is a Dovecraft punch, wrapped with pink satin ribbon topped with a bow. 'Beautiful' was cut from green shimmer cardstock, shadowed with white. A smattering of pearls completes the card.
Carts used:
Head- Art Nouveau
'Beautiful'-Home Decor
Thanks for dropping by!
Heather xxx

18/09/2011

Lovely......

Here's another beautiful image from the Art Nouveau cart. She's one of four standing/sitting figures. I cut her from pearlised cardstock and adhered her with foam pads to an embossed panel. The card was created by cutting 1" from the front of a C5 card then punching the edge with this lovely Woodware Border Punch . I backed the punched edge with more pearlised cardstock then trimmed away the excess. The papers are from DCWV Mango stack. 'Lovely' was cut from pearlised cardstock using Font 1 on the cart and adhered flat to the inside back of the card. I finished the card off with some pearls and a WOC bloom.
Cart used:
Figure & 'Lovely'- Art Nouveau
Thanks for looking!
Heather xxx

17/09/2011

Beautiful dreamer.....

This dreamy card was made with my latest aquisition, Art Nouveau. OMG! This cart is TO DIE FOR!!!
I can't tell you how I've wished for a cart with these kind of images on, and I have to tell you they are stunning. They are very easy to cut out and put together. I've made three cards so far with this image, and another one with a different head. Besides the heads (there are four in all)  there are four standing/sitting figures, numerous images including a dragonfly and scarab beetle, William Morris style flowers and two fonts! I have made two Christmas cards using this image and they are very easy to adapt. I'll show you those at a later date as they are for my Christmas Workshop, and my ladies get first look! I used Papermania's Rose Garden (??) papers for the card base which measures 8" x 5", and shimmer cardstock for the image. I prettied up the headdress with a Prima mini rose and some punched mini leaves. I added more punched leaves and teeny punched flowers to the circle frame. The pretty punched border is a Woodware border punch, which was embellished with pink satin ribbon and a bow with a jewelled hat pin pushed through it- I always stick a silver bugle bead on the end of the pins to make them safe to post- and a small Prima rose. 'Dream' was cut from pink shimmer cardstock, adhered to cream shimmer cardstock, then hand cut to create a shadow. It was adhered to the card with foam pads. A smattering of pearls completes the card. The Art Nouveau cart is available from craftsulove.co.uk and costs £49.99. They have sold out once and have re-stocked but I wouldn't wait too long if you want to get it as I can see it flying off the shelves again!
Carts used:
Art Nouveau Head- Art Nouveau
Dream- Graphically Speaking
Thanks for dropping by!
Heather xxx

15/09/2011

Delighted!......

This card is super simple with a lot of white, and a splash of colour in the centre. The white mat was layered onto black & hot pink cardstock. The shaped panel was cut twice from patterned paper, then one piece was cut in half horizontally and adhered to the other piece with a piece of punched cardstock adhered over the join in the papers. The completed panel was adhered to another plain white cardstock piece to give stability , then affixed to the centre of the card with foam pads. The elegant chandelier was cut from hot pink glittercard - it cut like dream!- and adhered to the shaped panel with foam pads, then topped off with a bow and a WOC bloom. 'Delighted' was cut from black glittercard and adhered flat. A smattering of gems completes the card.
Carts used:
Shaped panel- Just Because Cards (there are some super shapes on Storybook too)
Chandelier- Everyday Pop-Up cards
'Delighted'- Winter Woodland
Thanks for dropping by!
Heather xxx

12/09/2011

Glam!....


These fold back cards are THE easiest cards to make and they give you so much room to be creative in- you have the front AND the inside of the card to decorate. For this one I used a piece of A4 cardstock folded to A5 the cut down to just under 6" square. I folded the front of the card back on itself and rounded the corners on the back of the card. I used Paper Cellar 6x6 monochromatic papers to cover the inside back and the folded back front of the card. I adhered the papers flush with the edges of the card so that no matting & layering was required- simples!
I did add a smaller, thinner panel to the folded back section because I wanted to add ribbon & a bow- difficult to do when the paper is applied flush- and it was adhered with foam tape. The shaped panel cut from black textured cardstock and patterned paper was adhered to the front with more foam tape. A layered circle holds a nail polish bottle, a hot pink lipstick cut from black dotted mirri, holographic silver card and hot pink mirri card and the 'Glam' sentiment . Teeny punched flowers and a Prima bloom completes the front of the card.
                                        
The inside back of the card was decorated with another shaped panel embellished with more punched flowers and leaves, and the 'Happy Birthday' sentiment, all adhered flat.
Carts used:
Shaped panels- Just Because Cards
Scalloped circle- Winter Woodland
Plain circle- George
Nail polish/Lippy/'Glam'- Forever Young
Happy Birthday- Wild Card (RDS on)
Thanks for dropping by today!
Heather xxx

10/09/2011

Groovy!......

Our very good friend Adele is celebrating her 50th birthday. She had a party last weekend (we couldn't go because we were in Rome) which was 60's/70's themed, so I thought that this 'groovy girl' image would be great for her card. I used g.c.d paper for the background and some fab 'oil-on-water' paper for the front panel. All of the elements were cut from glittercard and adhered to the card with foam pads. I added an acrylic flower to the hole on the '50', and a couple of large blooms adhered beneath the top corner of the front panel.
Carts used:
Groovy girl/Groovy-Groovy Times
'50' & 'Adele'-Life's a Party
'at'-Base Camp (or any font cartridge)
Thanks for dropping by!
Heather xxx